"From Code to Cloud: Automating Node.js Deployment with AWS Elastic Beanstalk and CodePipeline"


When it comes to deploying a web app, there are various cloud services available in the market. AWS Elastic Beanstalk is one of the most popular services for deploying web applications as it reduces management complexity, allowing you to focus on your app's development. AWS CodePipeline Service provides an easy way to automate the application deployment process. In this article, we will go through the high-level steps required to deploy a Node.js web app to AWS Elastic Beanstalk and set up a CI-CD pipeline using AWS CodePipeline Service.
Prerequisites
A node app
GitHub Repository
AWS account
Before we begin, let us assume that we have a simple weather app developed using Node.js. Here is the GitHub link to the app.
Let's start with the high-level steps required to deploy the app to AWS Elastic Beanstalk with CodePipeline
Build the app.
Make configuration changes to the code entry file and package.json to make your app deployable.
zip all your code files except the node-module folder.
Create an application and environment in the Beanstalk console using manual file upload.
Create an AWS code deploy pipeline using a GitHub connection (Integrating GitHub with AWS CodePipeline).
Make sure your source and deploy stage succeeded.
Commit the code changes and auto-deploy your app.
Configurational Changes
When developing an app locally, we often run it on localhost with a port number. However, when deploying to AWS, we need to use the port provided by AWS. Therefore, we need to capture that port from the environment.
const port = process.env.PORT || 3000
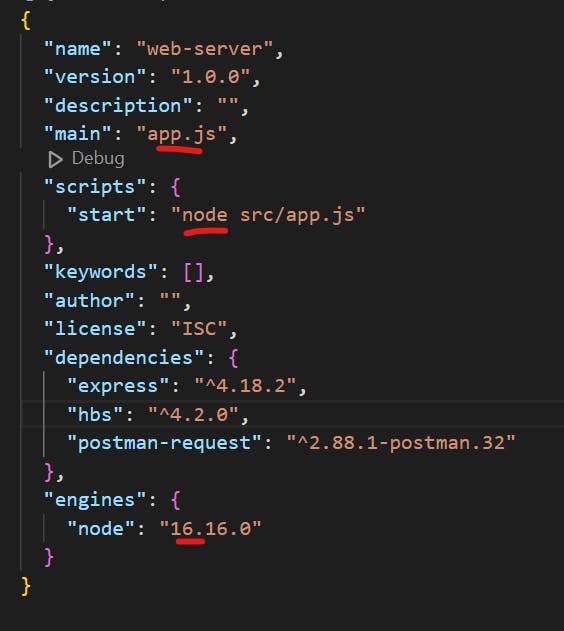
we also have to make changes to the package.json file as this going to tell AWS what is out app’s configuration requirements. For this, I have to make these three changes. It varies based on your coding style
ElasticBeanstalk for now supports only node16 hence make sure to change the node version in package.json same.
By default the main module is index.json - change it based on your project setup. Most people use app.js as the main entry file.
Define how to start your app under the scripts section
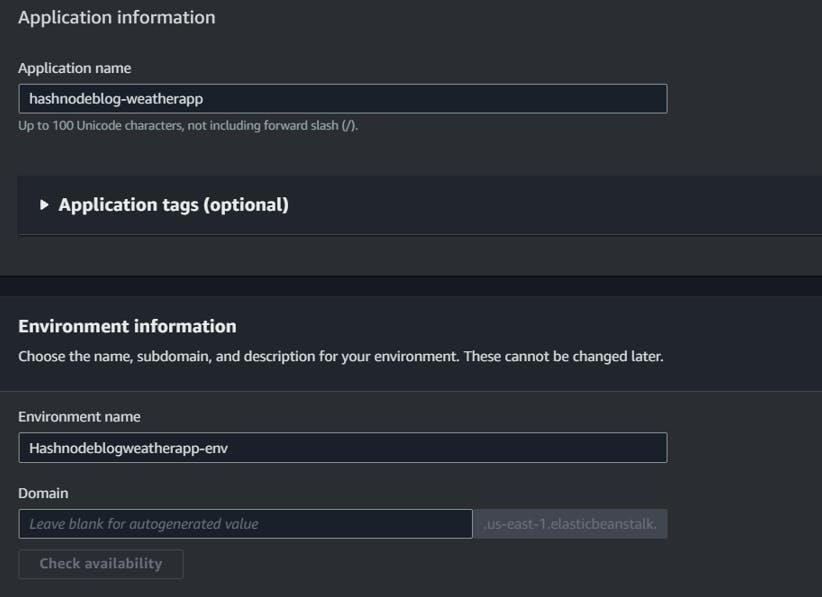
Creating an APP environment in Beanstalk
Log in to the AWS Elastic Beanstalk console and click on the Create New Environment button.
Select the environment tier as a web server environment.
Give a unique application name: hashnodeblog-weatherapp and observe that It will auto-populate the environment.
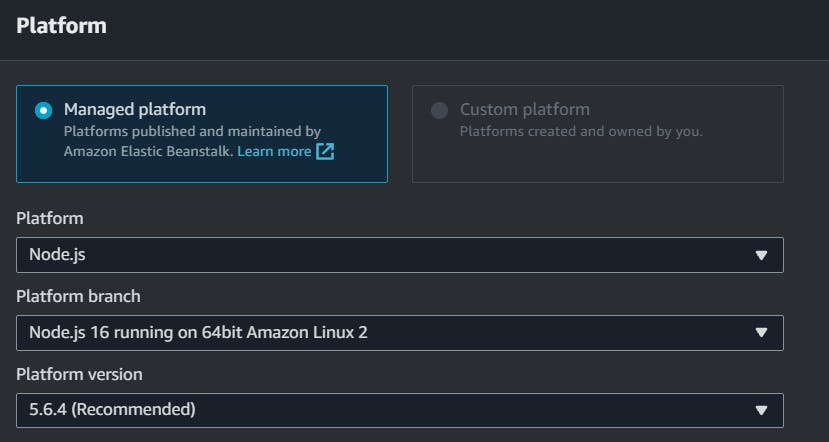
Select the platform - this is critical. Make sure you have declared the same node version in your package.json file; otherwise, the app deployment will fail.
Choose the upload your code option and upload the code zip file.

Click on Create Environment.
You will have to wait for about 10 minutes for it to spin up a bunch of services like an S3 file to hold the zip file, spin up an EC2, do all dependency installation, create security groups, add load balancers, add auto-scaling facilities, and create CloudWatch alarms.
Once the environment has been created successfully, you will see this page. Health should be green.
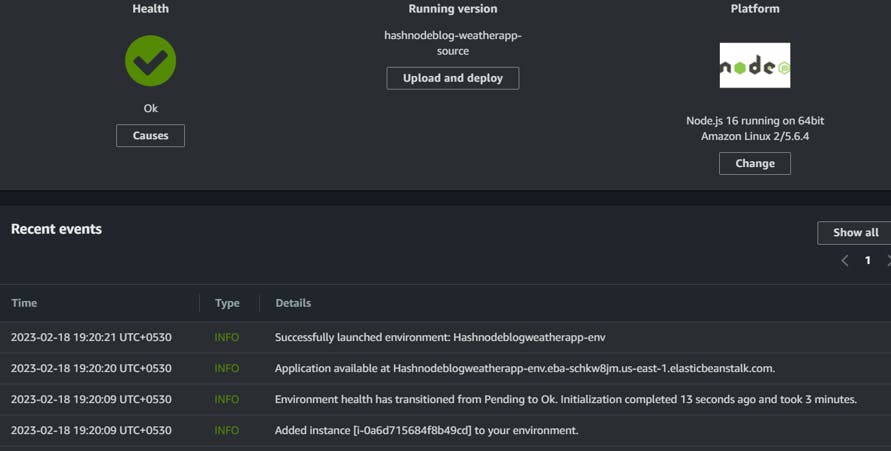
Click on the link given at top of the page to see your app up and running fine.
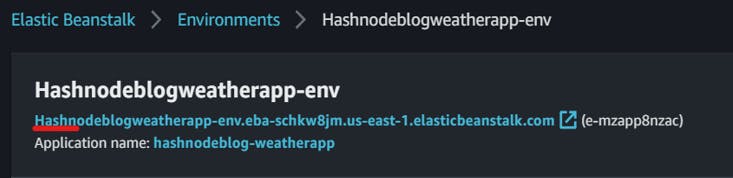
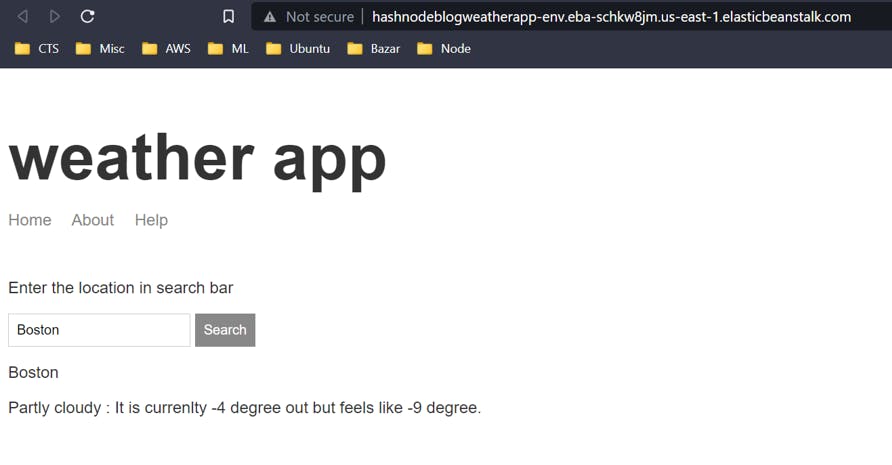
Our weather app is up and running on AWS now.
Automating the Deployment process
Now, let's set up the CI-CD pipeline using AWS CodePipeline Service.
Open the AWS CodePipeline service console.
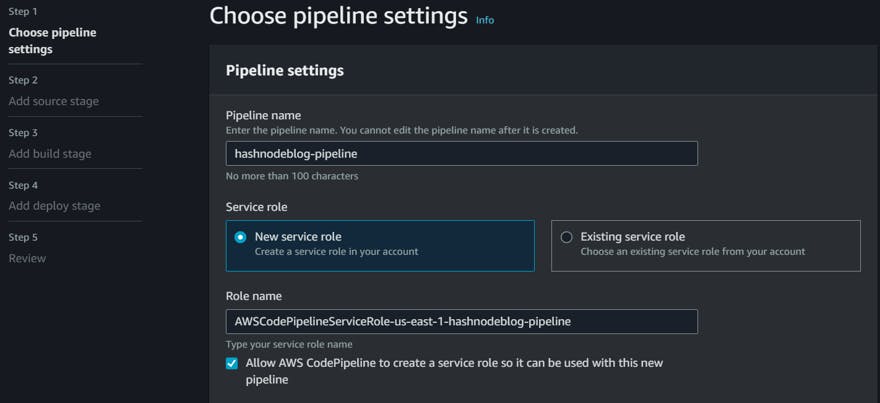
Click on the Create Pipeline button and fill in the details.
Choose the New Service Role option.
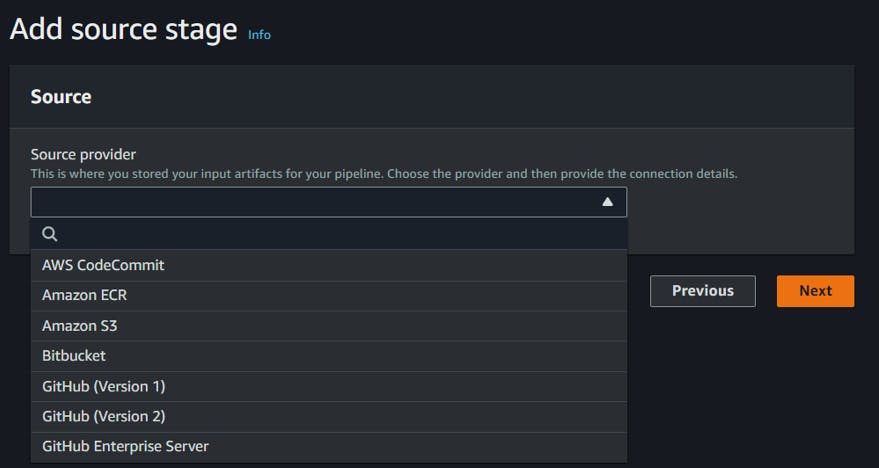
The next option asks for Source, choose GitHub Version 2 as we are going to use GitHub as our version controller.
The next step is setting up a connection between AWS CodePipeline and GitHub.
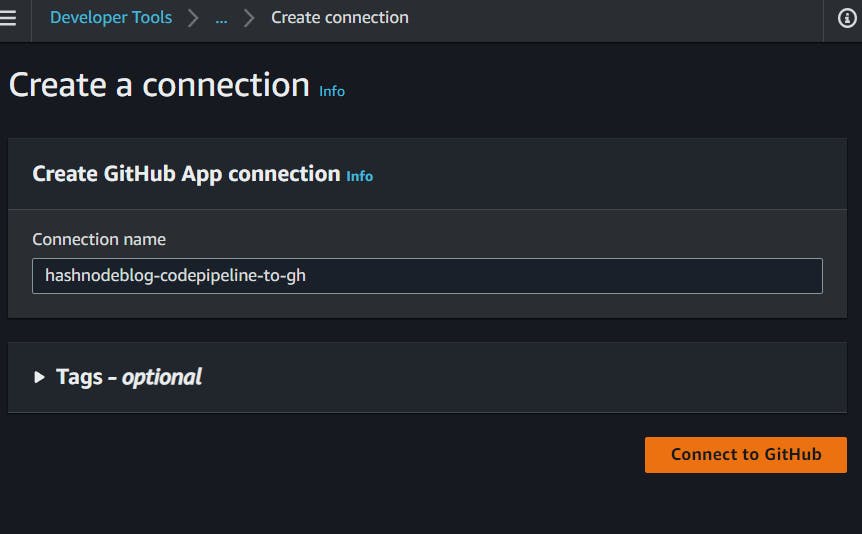
For a new connection click Connect to GitHub.
Give a connection name and click on Connect to GitHub.
On the next page, AWS Connector for GitHub requests permission to verify your GitHub identity and control access to your resources. To grant permission, click on Authorize AWS Connector for GitHub.
Upon authorization, you’ll be redirected back to the Create connection page.
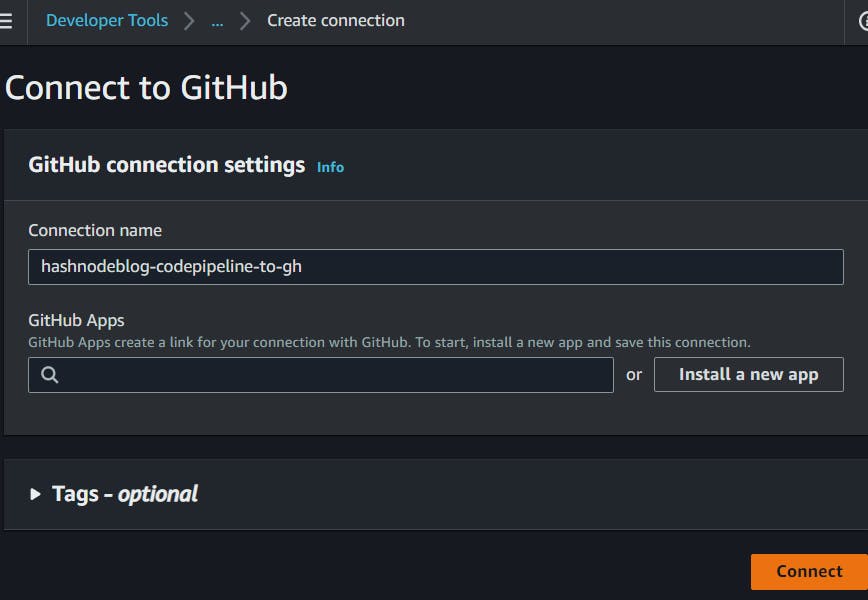
To have GitHub Apps generate a link to your GitHub to be used by CodePipeline, click on Install a new app.
This time, you’ll be redirected to a page to select the GitHub account or organization to which you want to connect. Select the appropriate option.
Next, you’ll be prompted to decide whether you want to give AWS access to all the repositories in your account or only specific ones. Here, you can select the option you prefer. I’ll choose All repositories.
Click on Install.
Upon installation, you’ll be redirected to the Create connection page.
Click on Connect to complete the process.
Note: I have not put any screenshots for a few steps above because the prompts will self-direct you so there is nothing to confuse.
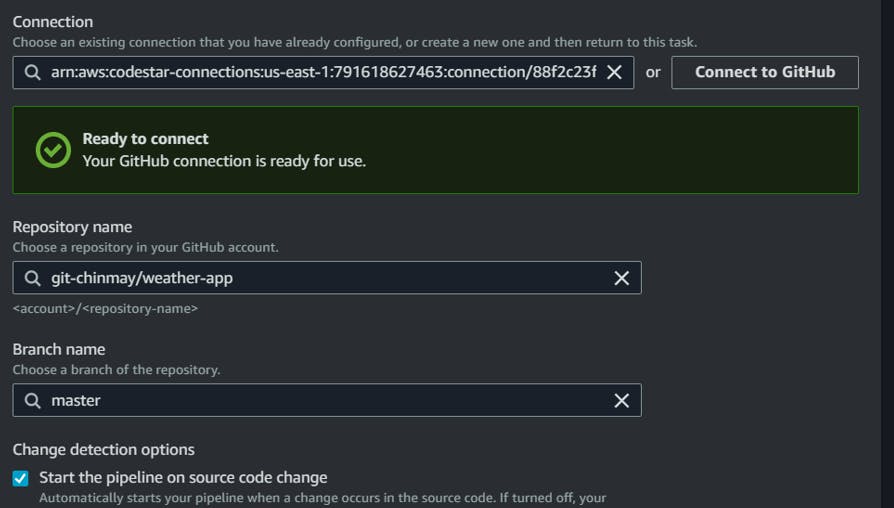
Once the connection is established successfully, we can fill in the rest fields like repository name and branch name.
Choose the output artifact format as CodePipeline Default.
Click Next and we can skip build stage.
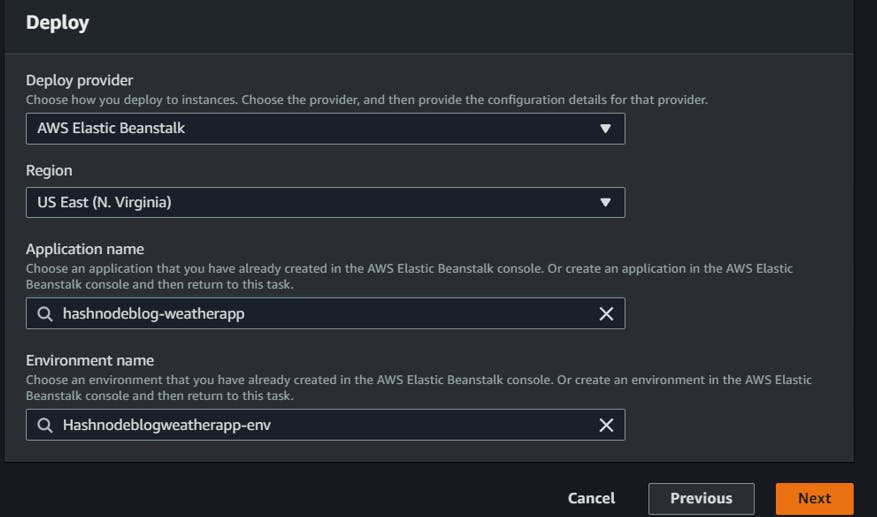
We have to fill the deployment stage. Choose Beanstalk as the deployer.
Our formerly created application name and environment name will pop up by clicking on the search option in the application name and environment field.
Click Next
It will create a Review page, go through all the selections for verification and click on Create Pipeline.
And wait for the two-stage completion. Source and Deploy.
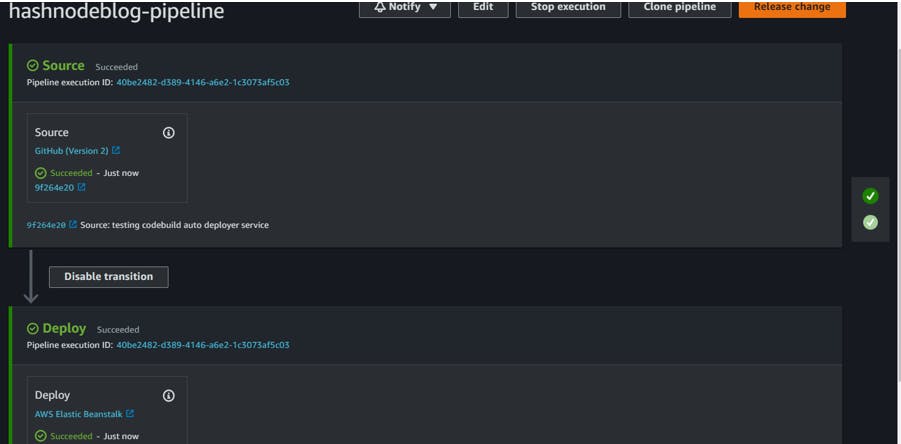
Once done, let's access the app again and see everything running as it is.
Testing the Auto Deployment
Once make sure the app is fine, let's do some changes to our app and commit the change and let’s see how auto-deploy gets triggered.
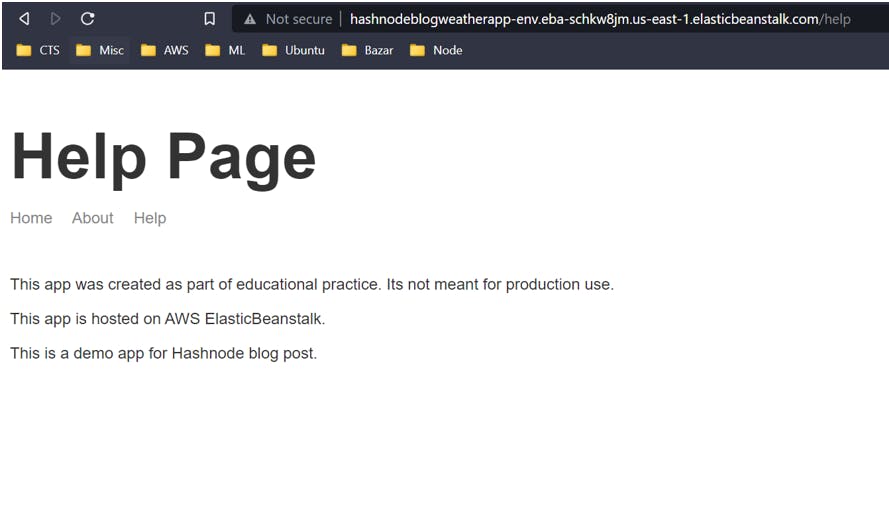
Let's make some changes to the help page.
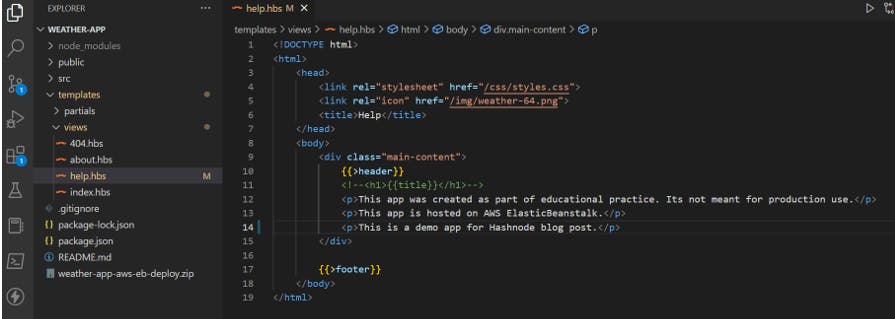
Here I have added a new paragraph element and removed one.
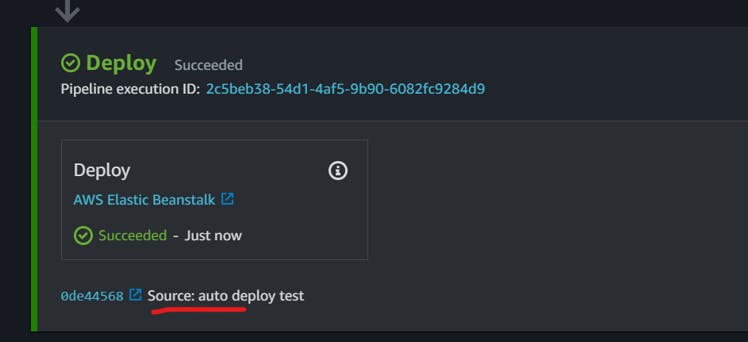
Let's commit and push the changes. And we can see the moment we push the code the auto deployer has triggered in the CodePipeline console.
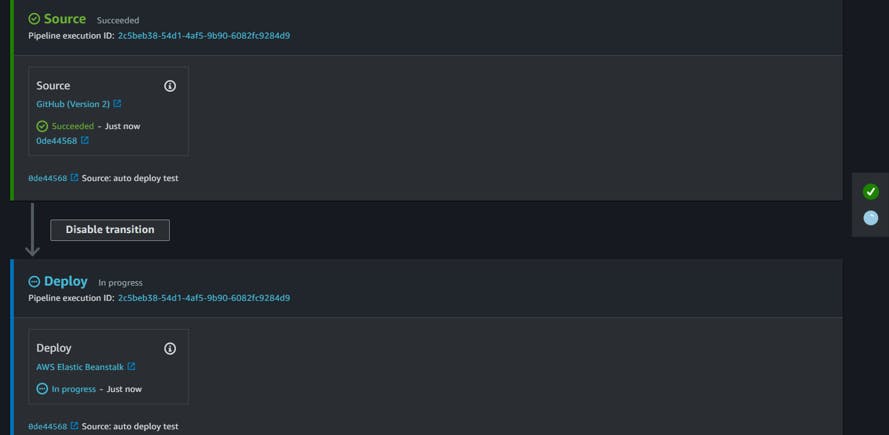
We can confirm that by clicking on the commit link. It will direct you to the commit on which this deployment was triggered.
Now let’s refresh the app and see the updates on the help page.
And with this, we have completed the setup for our auto-deployment feature.
Cleanup
As this is for educational purposes to save money you may want to clean up all the services from AWS.
Delete the code pipeline from the Code Pipeline dashboard. It should be quick.
Then go to the elastic beanstalk console, choose your environment and click on Terminate environment from the Action dropdown.
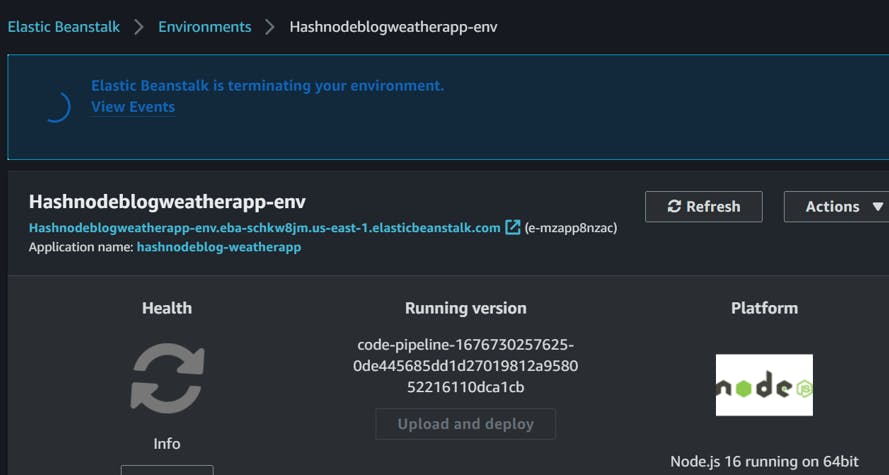
It will take a few minutes to complete as a lot of services in the background have to be cleaned up. This is the best thing about using this service.
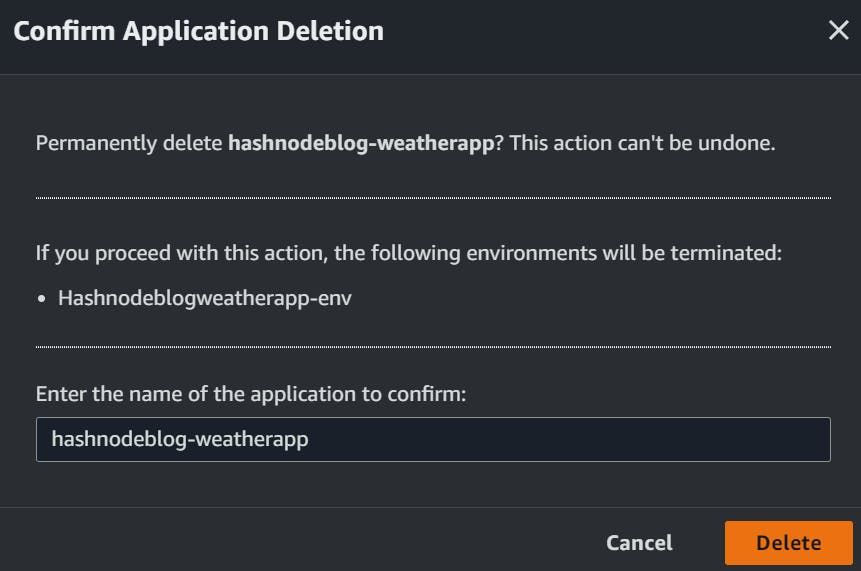
After a few minutes, If you click on refresh, it will automatically show you the application list. Choose your application to terminate and click on Delete application from the Action menu.
Confirm the delete
If you refresh your app URL you should get the page cannot be found error page. You are done.
Conclusion
To conclude, this blog post walked us through the process of deploying a node-based web app to the AWS cloud via the Elastic Beanstalk service and configuring a CI/CD pipeline with GitHub and AWS CodePipeline. We also made some changes to the weather app and observed the auto-deploy feature in action. While AWS offers various options for code deployment, such as Amplify, CloudFormation, AppRunner, and EC2, I am leaning towards Beanstalk because I found it is the most user-friendly and efficient deployment option. However, when making decisions at the enterprise level, various other factors like cost should be considered.
Hope you have liked the blog. Happy learning!!